SPRINGTIME IN USDA ZONE 4?
I WISH LOL!
As I look at Facebook posts from friends in Northern and Central California and Southern Oregon, and talk to friends in the Seattle area, I’m struck with EXTREME gardeners envy. Most of these folks have much, if not all, of their gardens planted. I will say however, that the envy stops at gardening ‘cuz I live in a beautiful place and have much gratitude for the gifts of nature that I find myself and my family surrounded by!!!
If you look at the USDA hardiness map by zip code, I would be generally found in zone 6B. However, the post office is at roughly 1300′ elevation along the river, and my house is at over 3000′ in a mountainous area known as a “snow belt” where temperatures are still regularly below freezing in late April. This elevation and climate difference puts us solidly in USDA zone 4 based on average minimum temperatures. Even a trip to “town” for a visit to the local grocery or hardware store invokes a bit of climate envy seeing everything in full bloom while we still barely have buds on our trees (see photo below) Having moved here from a zone 7 region, we certainly have adjusted our gardening practices, and with much success. We have found that through careful plant selection, starting many of our crops inside, and listening to long time local gardeners, we can still grow the same crops we have always enjoyed, and in fact have had more success with some things ie; peppers, cantaloupe, strawberries, than we had in a more moderate climate.
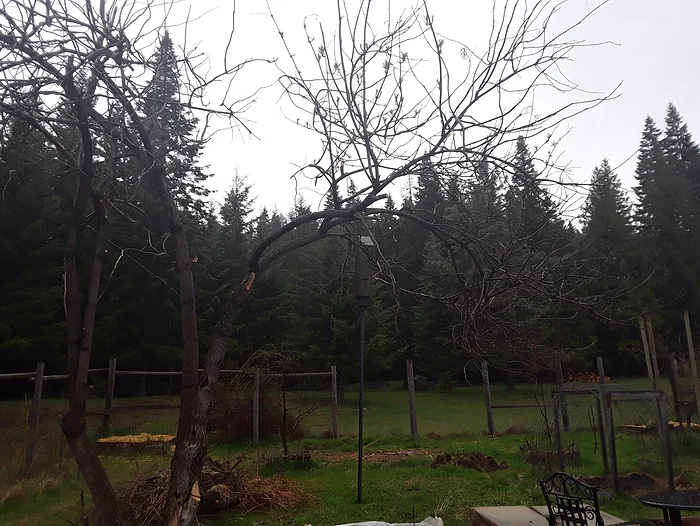
An Elderberry tree in our garden 04/25. Barely any leaves at this point. Notice the Bat House in the background awaiting it’s seasonal tenants.
AND THE GOOD PART OF ALL OF THIS IS?
Well, I’m glad I asked that question. The good part is that I’ve had more time to replace several raised bed gardens prior to growing season. About eight years ago, shortly after we moved here, I assembled quite a few raised bed garden kits we brought with us. The kits were from a company in Talent, OR that I shared a shop with. The company is called Natural Yards. They can be found at https://www.naturalyards.com/. Unfortunately, the shop I shared with them was destroyed by the horrific wildfire that swept through that area last Summer/Fall. I encourage you to reach out to them, purchase their products, and help them to rebuild their business. The raised bed kits are great!!!! They are easy to assemble and with all of the choices they have, they are very versatile. The bed kits lasted very well. I had the kits of fir lumber rather than cedar, and they still lasted eight years without any wood treatment. Unfortunately, nothing of this world lasts forever, and they needed to be replaced.
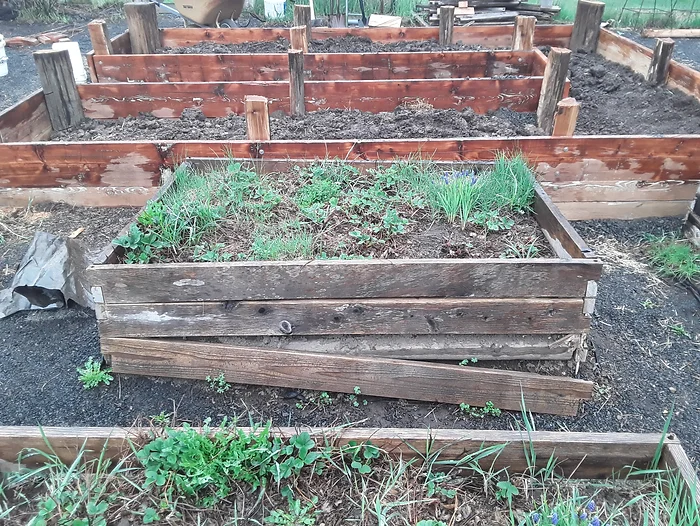
BUYING LUMBER FOR GARDEN BEDS? FUGGEDABOUTIT!!!!!
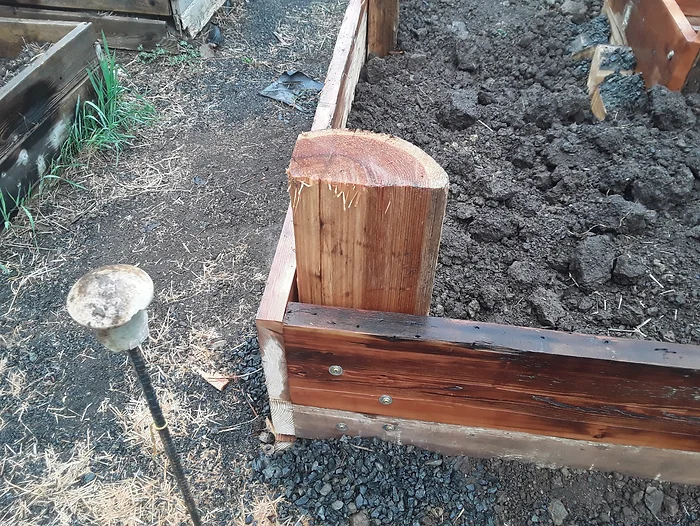
I actually started working on this project in mid February since we had no snow on the ground. Within a few days of staking out and planning my replacements (phase 1), it started to snow and didn’t quit for three weeks. The snow finally melted off the first week of April and I was able to continue. Once I had a lumber and hardware shopping list, I was able to call around looking for prices. OUCH!!!! I really thought I would have to shit can the whole project at this point. I was in need of 800 board feet of 2″x12″ of lumber, 60′ of 4’x4′ posts, and miscellaneous hardware, concrete, wood treatment (more on that later), and a couple of weeks of good weather. This was for phase 1 which consisted of removing 180 sq feet of existing raised beds and replacing that portion with two “U” shaped raised beds, overall 16’x12′ dimensions with 160 sq feet of growing space each. The best quote I got, just for the lumber, was over $1600. What was my response? FUGGEDABOUTIT. However, I am a fairly resourceful person, so I looked for options. Option one that I found was for the posts. I have a significant number of cedar posts, 8′-12′ in length, and 6″-12″ diameter that I salvaged when a local producer of power poles relocated. I could split these posts, cut them to length, and use a hand planer to create a flat, uniform surface to attach the lumber to. BOOM, first hurdle completed.
Still, I needed 800 board feet of 2″x12″ boards and this represented the majority of the potential cost. Fortunately, or unfortunately, depending on your involvement in the incident, a lumber truck loaded with 2″x10″ boards crashed into a local river. Thankfully no one was seriously injured. Every local with a salmon rod and heavy line was out there casting and reeling in lumber. It was quite a site. I’ve been involved in “combat fishing” before, but chose to forego this experience as I have a salmon tag, and a steelhead tag, but alas, no red fir tag LOL. A local towing and salvage company bought the recovered lumber from the insurance company, at least what wasn’t already snagged by locals, and moved it to their yard. I went to see them (great folks by the way but I’m not going to name them until after I get all the lumber I need), and even this salvaged lumber was quite expensive at $1000/1000 board feet instead of $1500. They did however have another option for me. They had demolished an old lumber sorting shed, built in the 1960’s, and had the lumber from it stacked out past the wrecked green truck, at the end of the tin roofing fence, near the scrap iron pile, but before you get to the rolled rv. Typical wrecking yard directions. I found the pile, but was concerned about the heavy industrial coating it had on it. The boards seemed very sound, and were 2″x10″x20′. Bottom line, the price was right. I returned the next day with my makita hand planer, a generator to run it, and a trailer and an able bodied youngster (my son) to help load it if I decided to buy it. I ended up taking 1/16″ off of the board to get through the heavy paint, which revealed absolutely beautiful wood underneath. Clearly this would be labor intensive, not to mention many ruined planer blades and a huge mess. Did I mention the price was right? So, we loaded up the boards. I actually made a mistake thinking the boards were 2″x12″, when in reality they were 2″x10″, but the wrecking yard owner is truly a stand up guy and agreed to let me pick up some more to equal the board footage I paid for. More on these great folks later when I feel comfortable naming them after I’ve gotten the rest of the lumber I need for phase 2.
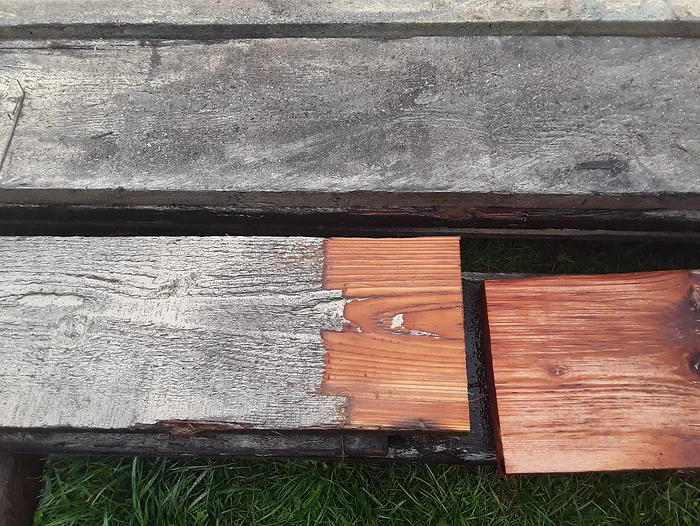
This photo shows the lumber before and after planing the paint off. As you can see, beautiful lumber!!!
LET THE FUN BEGIN
Labor intensive doesn’t begin to describe just the lumber prep process. Never mind the post splitting, hole digging, cement mixing, layout, bed filling, soil prep etc. These photos were all taken in the midst of constructing the first bed. I will take more of the posts, layout, and building on the second bed and create another blog.
I figured out pretty quickly that unless I wanted to spend more time changing blades on my little hand planer than building gardens, I should carefully inspect the boards before I planed them. So, each board was carefully inspected, nails and embedded rocks removed, and taken down 1/16″ on each side and one edge. The other edge had so many broken off nails that were not removable, that I chose to use a belt sander instead. I found that 1/16″ depth was sufficient to remove 99.9% of the old paint without removal of excess wood, and still leave me with actual 2″x10″ dimensions as opposed to “modern” dimensions of 1 3/4″x9 1/2″ dimensions. I felt really good about the resulting surface and strength of the lumber.
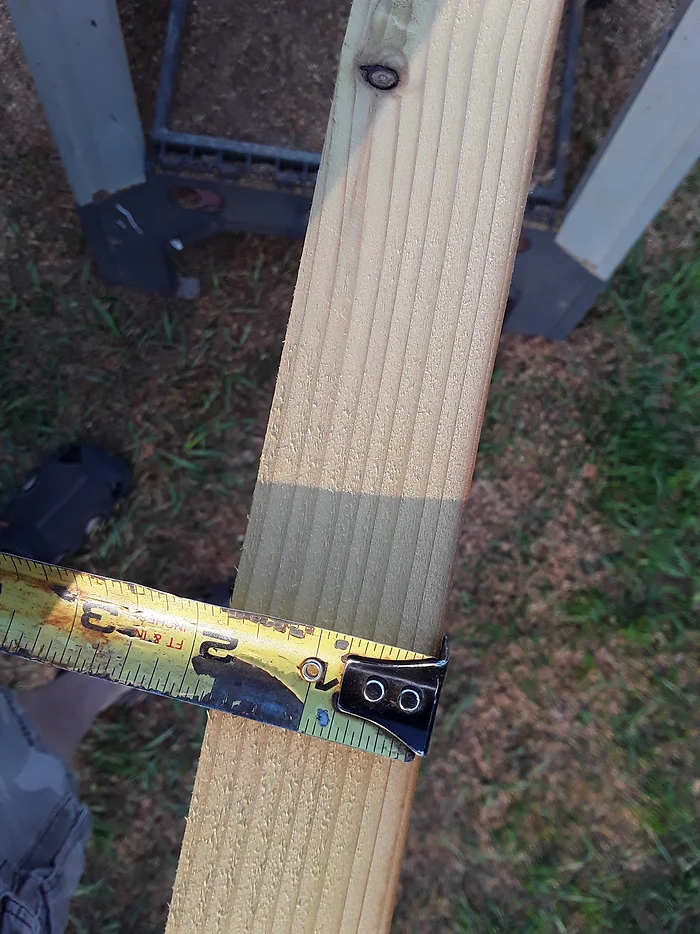
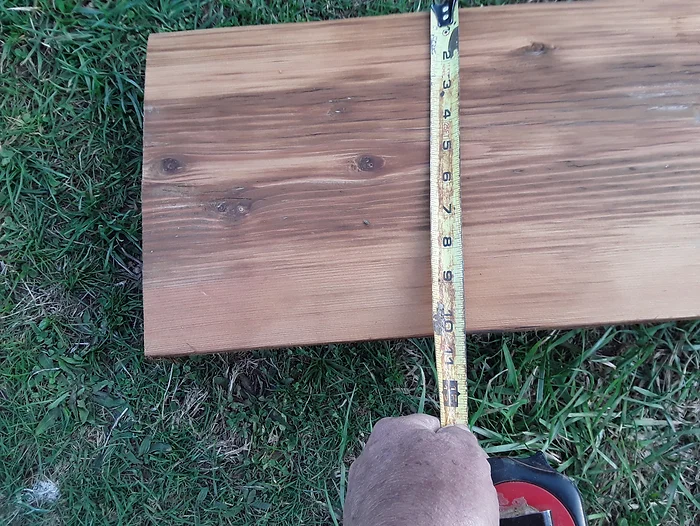
After planing and cleaning off the boards, I felt the need to treat them and hopefully get a longer life. These boards had held up for 60 years plus with the old paint on them, but I’m not sure what they were painted with. I was pretty sure whatever they used to paint lumber sorting sheds with in 1960, was not something I wanted my food grown in. I did a lot of research looking for suitable treatments for wood used in raised bed vegetable gardens. It’s shocking to me that people would still recommend a mixture of used motor oil and diesel!!! I focused on what was acceptable for organic gardens. After looking at such exotic products like pure tung oil, raw linseed oil, beeswax, and the like which require long periods for absorption and drying and are kinda unrealistic, I found Timber Pro UV internal wood stabilizer. https://timberprocoatingsusa.com/products/internal-wood-stabilizer/
I actually found out about this product while doing research on a chicken coop project at http://www.thegardencoop.com/internal-wood-stabilizer.html. This is a great source if you have chickens. Although it might not be perfectly organic, I’m very comfortable with it for my family’s food. It’s easy to apply, moderately priced, non toxic, and is a small family owned business based in the Northwest.
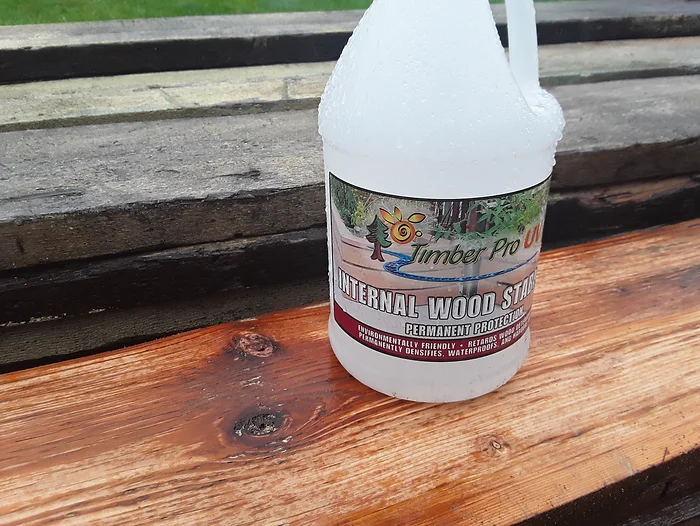
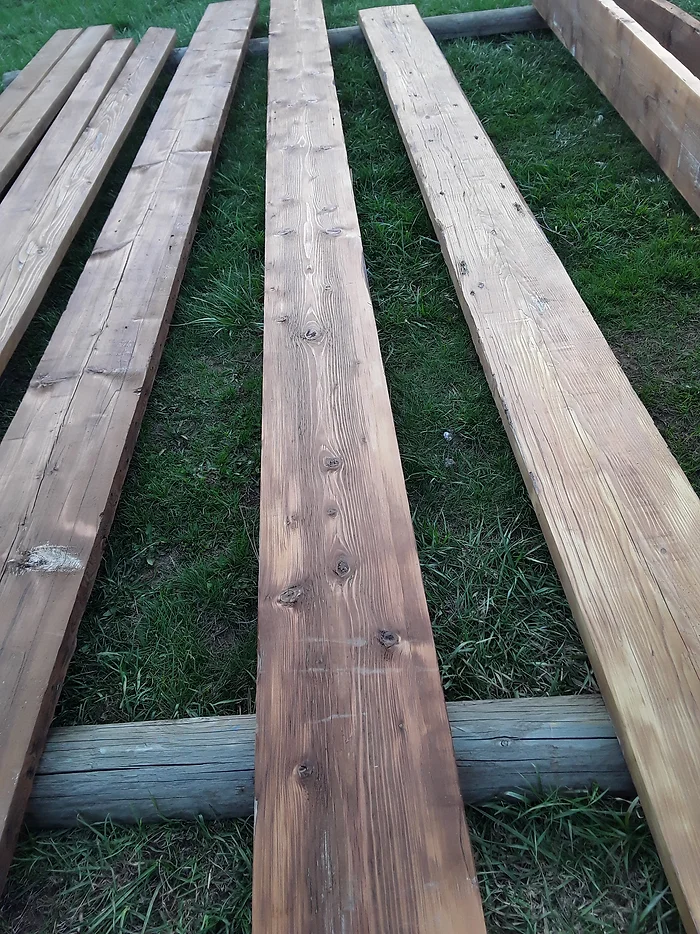
After treating the boards, they had a more “flat appearing” tone. It was interesting to cut into a couple of them and see the actual penetration into the lumber.
THE SUN HAS RETURNED!!!
While writing this blog, the weather has changed from horrid (raining and cold) to nearly tolerable (sunny and chilly). I guess I will close this out and get back to work planing my boards. The important part of this project for me is the use of many materials I had laying around (cedar posts), and the repurposing of the old lumber, saving money and valuable resources (timber).
Before I leave though, I want to continue briefly with some shout outs to other Southern Oregon friends I recently reconnected with. Jeff Vinyard realtor extraordinaire stopped in to visit me last week. If you have any real estate needs in the Applegate or Rogue Valley you can find him at http://oregon-land.com/. Some day, with uncle Jeffy’s permission, I might share an amusing story of how we met. Great guy, very knowledgeable about rural real estate and specifically Southern Oregon. Speaking of great guys, Thank you Rick Sultan for the great beanies, shirts, and stickers. https://www.dodgepowerwagon.com/classifieds/sultan_042710_t.php
https://www.facebook.com/Dodgepowerwagongearcom/
If you are at all interested in old Dodge Power Wagons, specifically military, Rick has a wealth of information as well as some cool stuff for sale. “Peace Love and Power Wagons” Rick. Sorry folks, no segue into these mentions, but both these guys have been on my mind lately.

